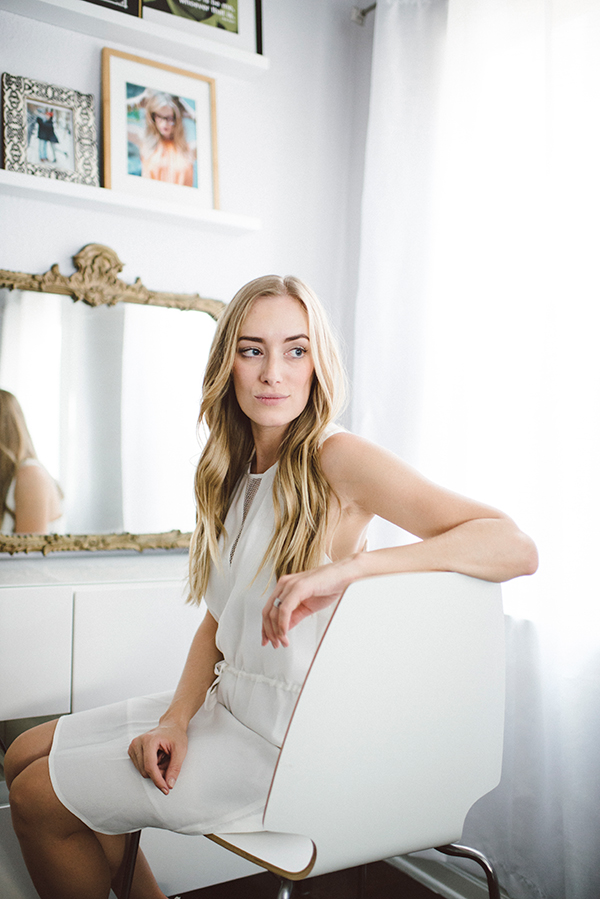
Excited to bring you my third post in collaboration with Head & Shoulders. This time I am bringing you one of my fav at home hairstyles: perfect soft curls. I get a lot of questions about my hairstyles so this was the perfect time to share! For me, these curls are loose and casual and great for everyday. Sharing with you everything you need to recreate this look.
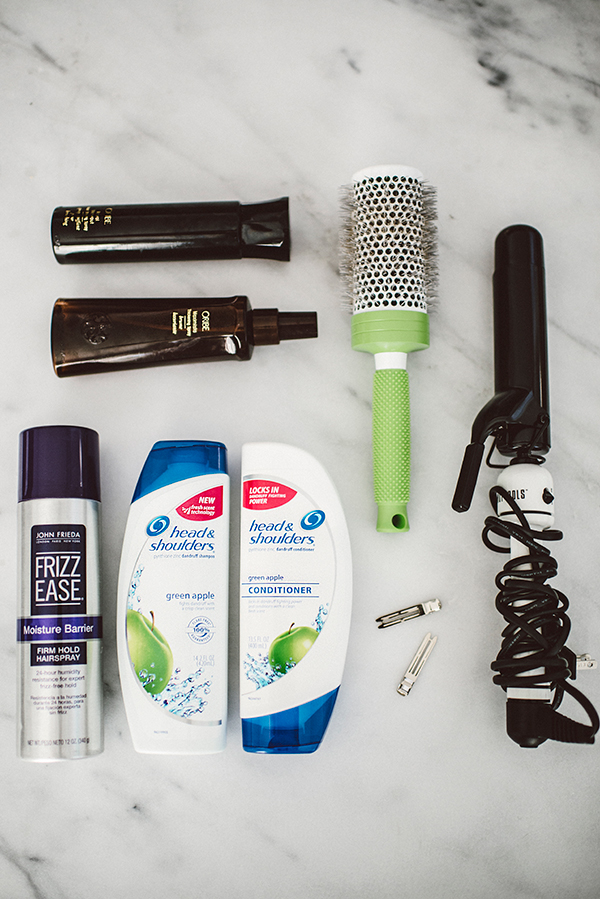
Step 1: A good base. Every hair style starts off with how you care for your hair. For every day, I love a fresh smell and I am obsessed with the Head & Shoulders Green Apple shampoo and conditioner. It smells so good I want to eat it. Jk! Hahaha. After all these summer months spent in the sun, my dry scalp needs that extra love and added moisture so this is the perfect base for my hair style. And of course, as I learned from Head & Shoulders celebrity stylist Sunnie Brook Jones, by starting with a healthy base I can truly #ownthepart with my style. Scroll down below to see my step-by-step tutorial and what I used to create my look!Scroll down below to see my step-by-step tutorial and what I used to create my look!
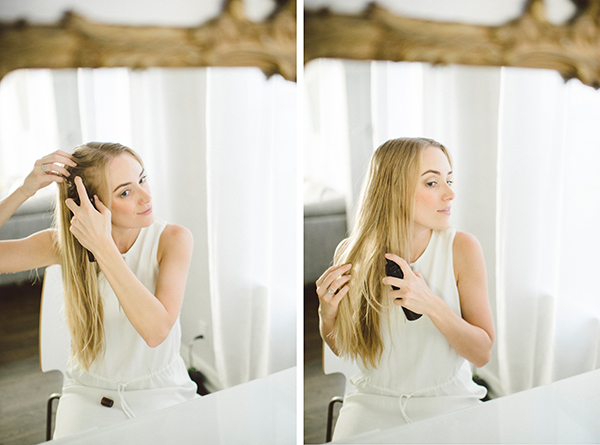
Step 2: Prep with product. I lightly spritz Oribe Royal Blowout + Oribe Volume Mist throughout my damp hair to protect for heat and give a bit of volume with my blow dry. From there, I create a clean, straight part a little off center, which flatters my face shape.


Step 3: Blow Dry. Running my fingers through my hair, I blow dry my hair till it’s completely dry and
straight. Don’t skimp on this because you don’t want to scorch your wet hair with a curling iron!

Step 4: Get your curl on. For a more casual wave, I use a larger barrel curling iron. I like hot tools 1.5″ barrel curling iron. Separate your hair in sections so you have clean pieces to work with. Take a 1″ section of hair and curl away from my face. I always feel my hair with my fingers to make sure the hair is fully heated before releasing the curls. Below you can see examples of what the shape looks like.

Step 5: Hairspray Baby. You want that curl to last? You MUST use some hair spray. After I finish one section, I spritz my curls with John Frieda Frizz Ease Moisture Barrier hairspray and let the curls set.


Step 6: Continue to curl. Keep working in sections and curl your whole head. Takes some time to finish, but you can do it!

Step 7: Brush is out. To keep your curls super casual, brush them out VERY gently and mostly on the under layer of your hair. Then, take your fingers and comb through the curls to gently separate them to the desired texture.

Voila! Some soft curls for your day. Hope you enjoyed this tutorial and would love to hear if you try it out yourself. Big thanks to Head & Shoulders for partnering up to share these hair tricks and adventure with you all!! Hope you loved it as much as I did.
photos by Blake Lapides
This post was created in collaboration with Head & Shoulders.
Thank you for always supporting collaborations here on eat.sleep.wear.
.png)




Raden - Nice, thanks for sharing 🙂
http://imaginarymi.blogspot.com
Sasha - Great post! I will have to try it!
xx
SASHA
JLu - I’ve always been a fan of Head & Shoulders, it just works better than fancy expensive ones!
http://www.julialundin.com
pipa - Nice post!
Christina Storm - You have gorgeous hair! Thanks so much for sharing!
The Style Storm
<3, Christina
Liz - great tutorial
http://hashtagliz.com
Ramy H - Love how you put this tutorial together! Something I definitely need to learn!
http://tickleyourvanity.com/
XOXO
Eye like fashion - Beautiful results!!
http:/www.eyelikefashion.com
Paulina - I loved the tutorial! http://www.thepaarblog.com/
Kate Wilson - I love H&S! x
http://my–socalledlife.blogspot.com.es/
Joules - Cute look! I love the tutorial.
Style by Joules
Fashion Snag - Gotta try this!
http://www.FashionSnag.com
between the blondes - Great tips!
http://betweentheblondes.blogspot.com/
Yao Yao - Love this tutorial, thank you so much for sharing! The curls that you made, looks like they are your own curls.
xoyaoyao.wordpress.com
M A R T A - Nice post, you look gorgeous!
http://www.MARTAsFASHIONdiary.com/
nikki - love this!!
xxoo,
nikki
http://www.dream-in-neon.com