.jpg)
.jpg)
.jpg)
.jpg)
.jpg)
.jpg)
.jpg)
.jpg)
.jpg)
.jpg)
.jpg)
.jpg)
.jpg)
.jpg)
.jpg)
.jpg)
.jpg)
.jpg)
.jpg)
.jpg)
.jpg)
.jpg)
.jpg)
.jpg)
.jpg)
.jpg)
.jpg)
.jpg)
.jpg)
.jpg)
.jpg)
.jpg)
.jpg)
.jpg)
.jpg)
.jpg)
.jpg)
.jpg)
.jpg)
.jpg)
.jpg)
.jpg)
.jpg)
.jpg)
.jpg)
.jpg)
.jpg)
.jpg)
.jpg)
.jpg)
.jpg)
.jpg)
.jpg)
.jpg)
.jpg)
.jpg)
.jpg)
And just like that, a year has FLOWN by. My sweet Otis is 1 year old!!!!!!!!! I swore I wasn’t going to go overboard but in the end maybe I went a touch overboard. Can you blame me?? Otis deserves the world and to be able to celebrate our first year together with our close friends and family was a dream come true. Our whole infertility journey has taught me so much and the level of gratitude for our miracle grows by the day. Maybe I hug him a little tighter, smile a little bit bigger, and become a little more patient during the baby meltdowns because in the end, I am lucky to experience the range of feelings and experiences when it comes to motherhood. It’s also been 1 year of learning and growing as a mother. I think it all hit me when we were singing Happy Birthday, looking out at all the people celebrating such a milestone. It was one of the sweetest moments to experience with him.
PLANNING A KIDS MODERN MICKEY MOUSE
FIRST BIRTHDAY PARTY
For Otis’ party, we decided on Mickey Mouse! We have been going to Disneyland since Otis was 2 months old and on our last trip, he saw Mickey Mouse and started pointing and wanted to run to him. It’s clear he loves Mickey! I didn’t want the typical red and yellow accents for the party.. Instead, I wanted to give the Mickey Theme a modern twist and keep things mostly black and white with a pop of gold. I found this plate and pretty much fell in love with the splatter pattern and decided to base the whole party around it. For the tablescape, I found this giant wood cutting board to use as a cheese board so I could fit cheese, veggis and fruits for the whole crowd of 40 people. We kept the other food simple by ordering pizzas and grilling hot dogs. I set the place settings for the kids and included Mickey Mouse ears as a fun decor accent that the kids could wear for the party.
For the dessert table, I set this up on my dining room cabinets to keep it out of the way and also double as a decor moment. I had the cake toppers custom made along with the 12 Months of Otis sign which quickly gave our simple white cakes the finishing touch they needed. An idea I had to tie in my existing decor style with the party theme was to have some photos of Otis at Disneyland framed from framebridge. Having those photo memories be part of our day was so special and fun to include some photos of Otis when he was younger. I also got these tiny Mickey Mouse plush toys for the kids as party favors and they served as a decor element during the party which was fun and playful. For the sugar cookies, I actually made them myself! It took me 3 days to complete them but they turned out so cute. I used this recipe. The last element of this space was the homemade Mickey Mouse garland. I spent time searching the internet for plain black garland and there was nothing that was speaking to me, so I decided to make my own with the help of my amazing friends.
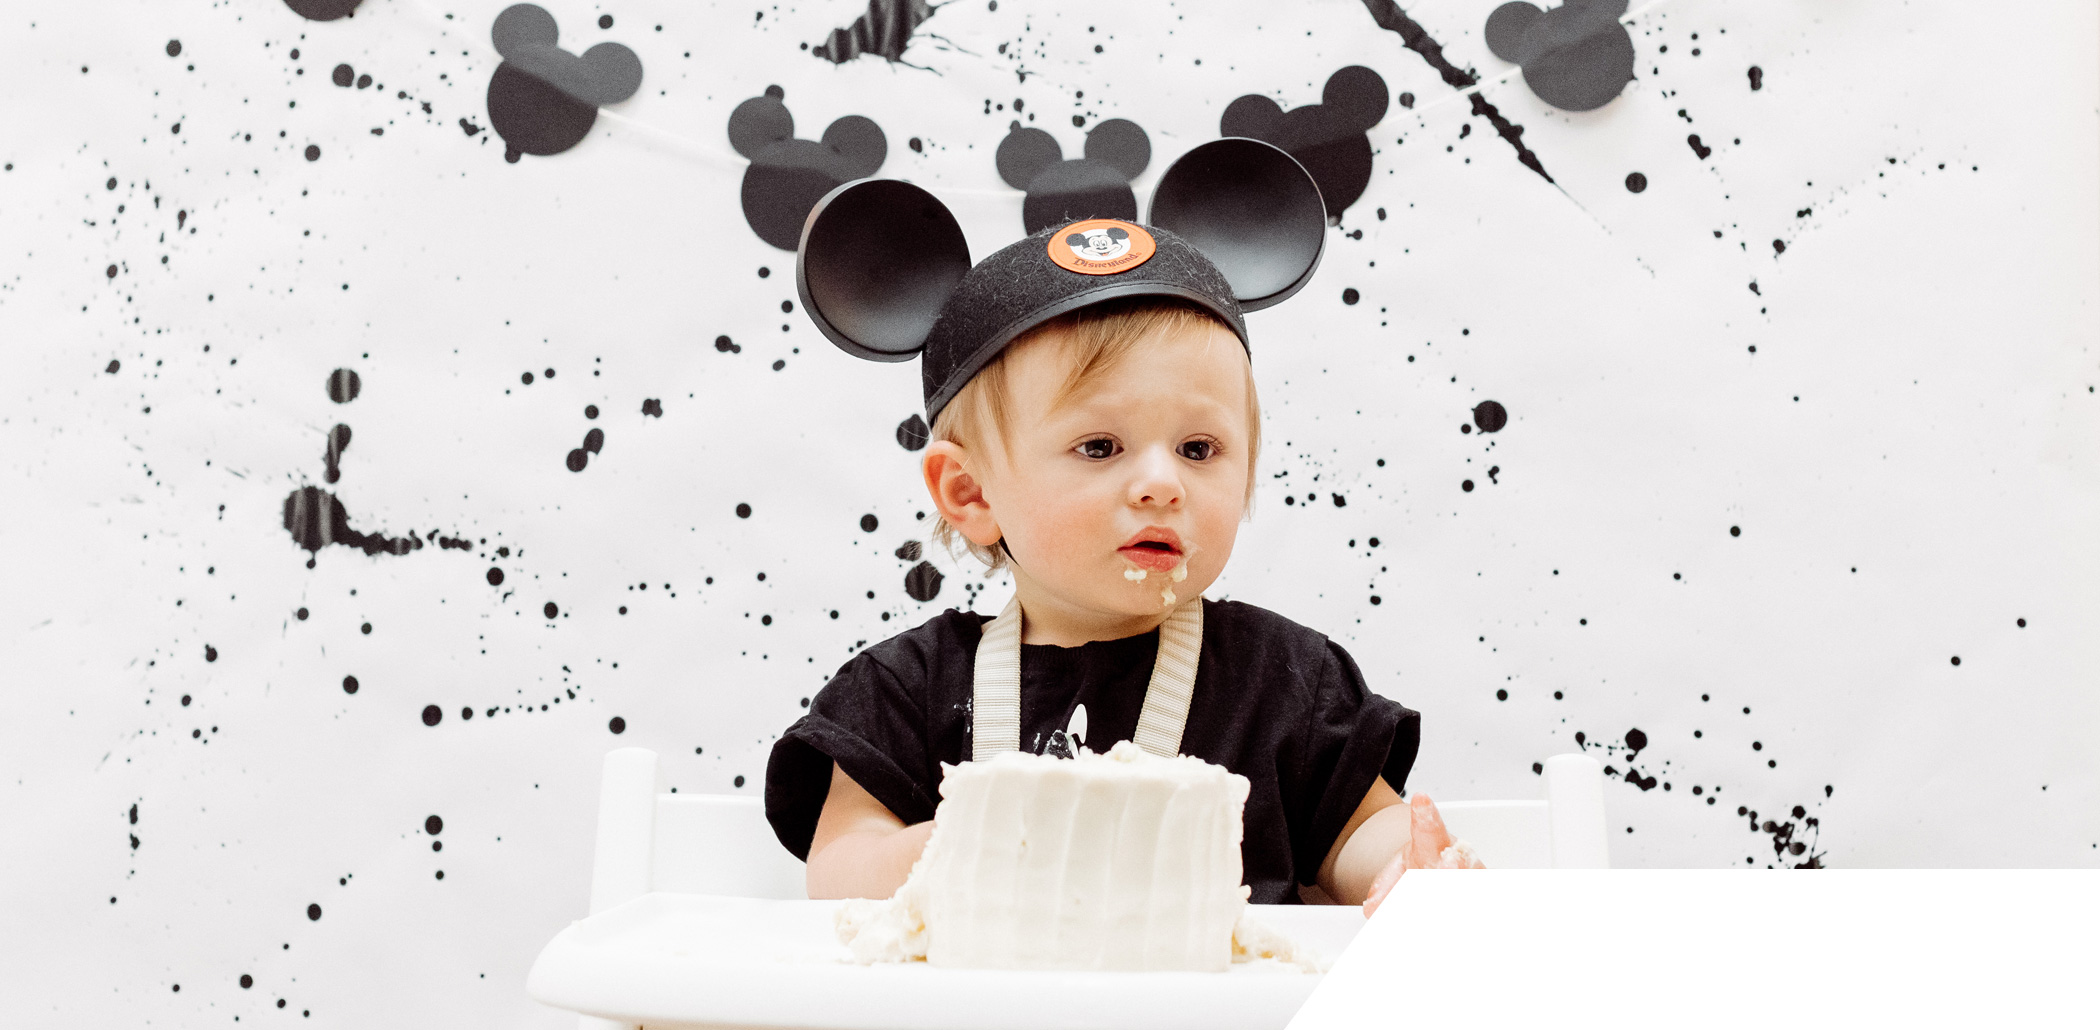
For the cake smash area, I wanted to create a custom backdrop for his special moment. I also searched the internet for paint splattered photo backdrops but could not find what I needed so decided to make it myself with some black acrylic paint. It ended up being pretty easy and really turned out great if I say so myself. I also hung some of the homemade Mickey garland there.
Another special little area outside was the mini bar. Or should I say Minnie bar?? Are you laughing? Mom jokes. My friend Ashley actually had her husband build this for her daughter’s first birthday party and she kindly let me borrow it. I customized it to match our theme by adding my homemade garland and homemade Mickey confetti. I included some of Otis’ favorite cold pressed pouches from Once Upon a Farm for the kids. They were a big hit and nearly all of them were gone at the end of the party! We also placed some typical bar items up there and Otis grabbed the spoon and wouldn’t let go. By far the cutest and funniest photo of our sweet little bartender.
We created a photobooth on the side of our house and made balloon arches with packets I purchased on Amazon. Oh man… these balloons came with some drama (one burst the night before a shattered a wine class all over my bedroom) but they were shockingly pretty easy to make. Just very time consuming. The only problem we had was that the day of the party was very hot so the balloons deflated pretty quickly and were popping somewhat. So they didn’t look their absolute best but they still added a nice accent to the party. Another fun activity we had at the party was a soft play space from Little Party Tots. They basically came and set up foam tiles with a bunch of foam toys and a foam ball pit and then gated the area to create a safe and fun playspace for kids under 3. GENIUS idea. Otis spent most of the party playing there. Such a great idea if you have young babies and kids. I also set up my own inflatable pool from minnidip and got some ball pit balls on amazon for the bigger kids to have their own ball pit fun. FYI for anyone wanting to fill a pool with ball pit balls… this was 800 and not nearly enough to look full. But I tried. HA.
For beverages and food, I set up the outside table with a few ice buckets. I scored these awesome acrylic ones at homegoods. Blake picked out some beer and we also served rose and sav blanc from Winc (because that rose is my favorite) and mama deserved a drink after all this party planning. We also placed some chip bowls around this table because easy munchies are always tasty to have at party.
I am so happy I was able to create such a magical day for both Otis and Blake and I. I won’t lie, I feel like I aged 50 years planning for this party but it was worth it!!! Such a blessing celebrating our little man. We Love you Otis!! Also a HUGE thank you to Felicia for always being a part of our families most special moments.
Tablescape
Cutting board: world market
Splatter Plates: zazzle
Bamboo Plates + silverware: amazon
Mickey Mouse Ears: amazon
Small black paper cups: party city
Paper straws: amazon
White bowls: the little market
Cheese knives: crate and barrel
Dessert Table
Wooden 12 Months Of Otis Sign: POPPYjack Shop
Polaroids printed with this FujiFilm Instax printer
Framed Disneyland photos: Framebridge white frames + black frames
Cake Toppers: POPPYjack Shop
Cakes: SusieCakes
Cake platters: HomeGoods
Black rectangle trays: party city
Mickey Mouse plush party favors: ShopDisney
Mickey garland: homemade
Sugar Cookies: homemade with this cookie cutter
Cake Smash
Splatter backdrop: homemade using this paper roll
Highchair: stokke
Balloon: party city
Mickey garland: homemade
Mickey confetti: homemade with this hole punch
Other inside decor
Circle garland: amazon
Mickey balloons: party city
Balloon arches (2x): amazon
Other living room decor: see blogpost
Backyard decor
Splatter pool: minnidip
White ball pit balls: amazon
Beach balls: minnidip
Balloon arches (2x): amazon
Bench: see blogpost
Copper bowl: CB2
Soft play yard: Little Party Tots
MiniBar letterboard: letterfolk
Pouch container: homegoods
Pouches: once upon a farm
Otis turns one balloons: amazon
Ground pillows: target
Beverage tubs: homegoods
Wine: winc
Snack bowls: ross
Black solo cups: party city
Outdoor sectional couch: west elm
Outdoor dining table: williams-sonoma home
Outdoor chair set: target
Roller coaster: step2
Water table: step2
Slide: little tikes
Otis Outfit:
Top: cribstar
Shorts: target
Kim Outfit:
Tank: LNA clothing
Shorts: rag and bone
Shoes: clergerie
Blake Outfit:
Top: h&m
Shorts: chubbies
.png)


Grace - Ok so into this!! My little guy is turning 1 in about 10 days and I’m in love with the12 months of Otis wooden board. Where did you say that’s from? I’ve looked a few times and am just seeing the frames from frame bridge… anyways congrats, that little party was amazing, and congrats on the first year down!!
eat.sleep.wear. - Grace, It’s the first item under “DESSERT TABLE” by PoppyJackShop 🙂
Amy - Minnie Bar
Nikki - What did you use to create the Mickey garland? I remember seeing the video and would love to recreate!
eat.sleep.wear. - If you scroll to bottom of blog post, I linked the hole punch that I used to create the circles for the garland. I cut 2 different sized circles, then gluded together, then glued on the string. I am going to save a mickey party stories highlight on my IG page so you can see! xoxo Kim
Michelle - Hi!! Can you give a tutorial on the splatter paint back splash? I LOVE IT but seriously doubt it would look that good if I did it!
eat.sleep.wear. - I am going to save a mickey party stories highlight on my IG page so you can see! xoxo Kim
Ray - Love the theme!! Where did you get his hat from and i don’t think you linked it?
eat.sleep.wear. - His hat is from disney.com and I got the disneyland version. You can order online and add embroidery! xoxo
Dana Hill - Girl! This post is everything! Thank you so much! Planning a mickey themed birthday and this has been SO helpful!
Dana Hill - Girl! This post is everything! Thank you so much! Planning a mickey themed birthday and this has been SO helpful! How big did you make the mickey ears on the garland? How did you cut them? I’m having a hard time finding a good DIY.
eat.sleep.wear. - HI! Happy to help 🙂
I used 2 different circle hole punch sizes. One circle for the head and then 2 circles for the ears. Then I used a clear glue to paste the ear circles to the head circle. VERY time consuming but turned out great. I would have ordered on etsy but ran out of time.
xoxo
Nina Morgan - Any idea where to find those mini mickey plush party favors? I have gone down every rabbit hole on the internet. TIA!!
eat.sleep.wear. - They might not be available anymore. I got them from DisneyStore online. Sorry! xoxo